Valentine Cupcake Box

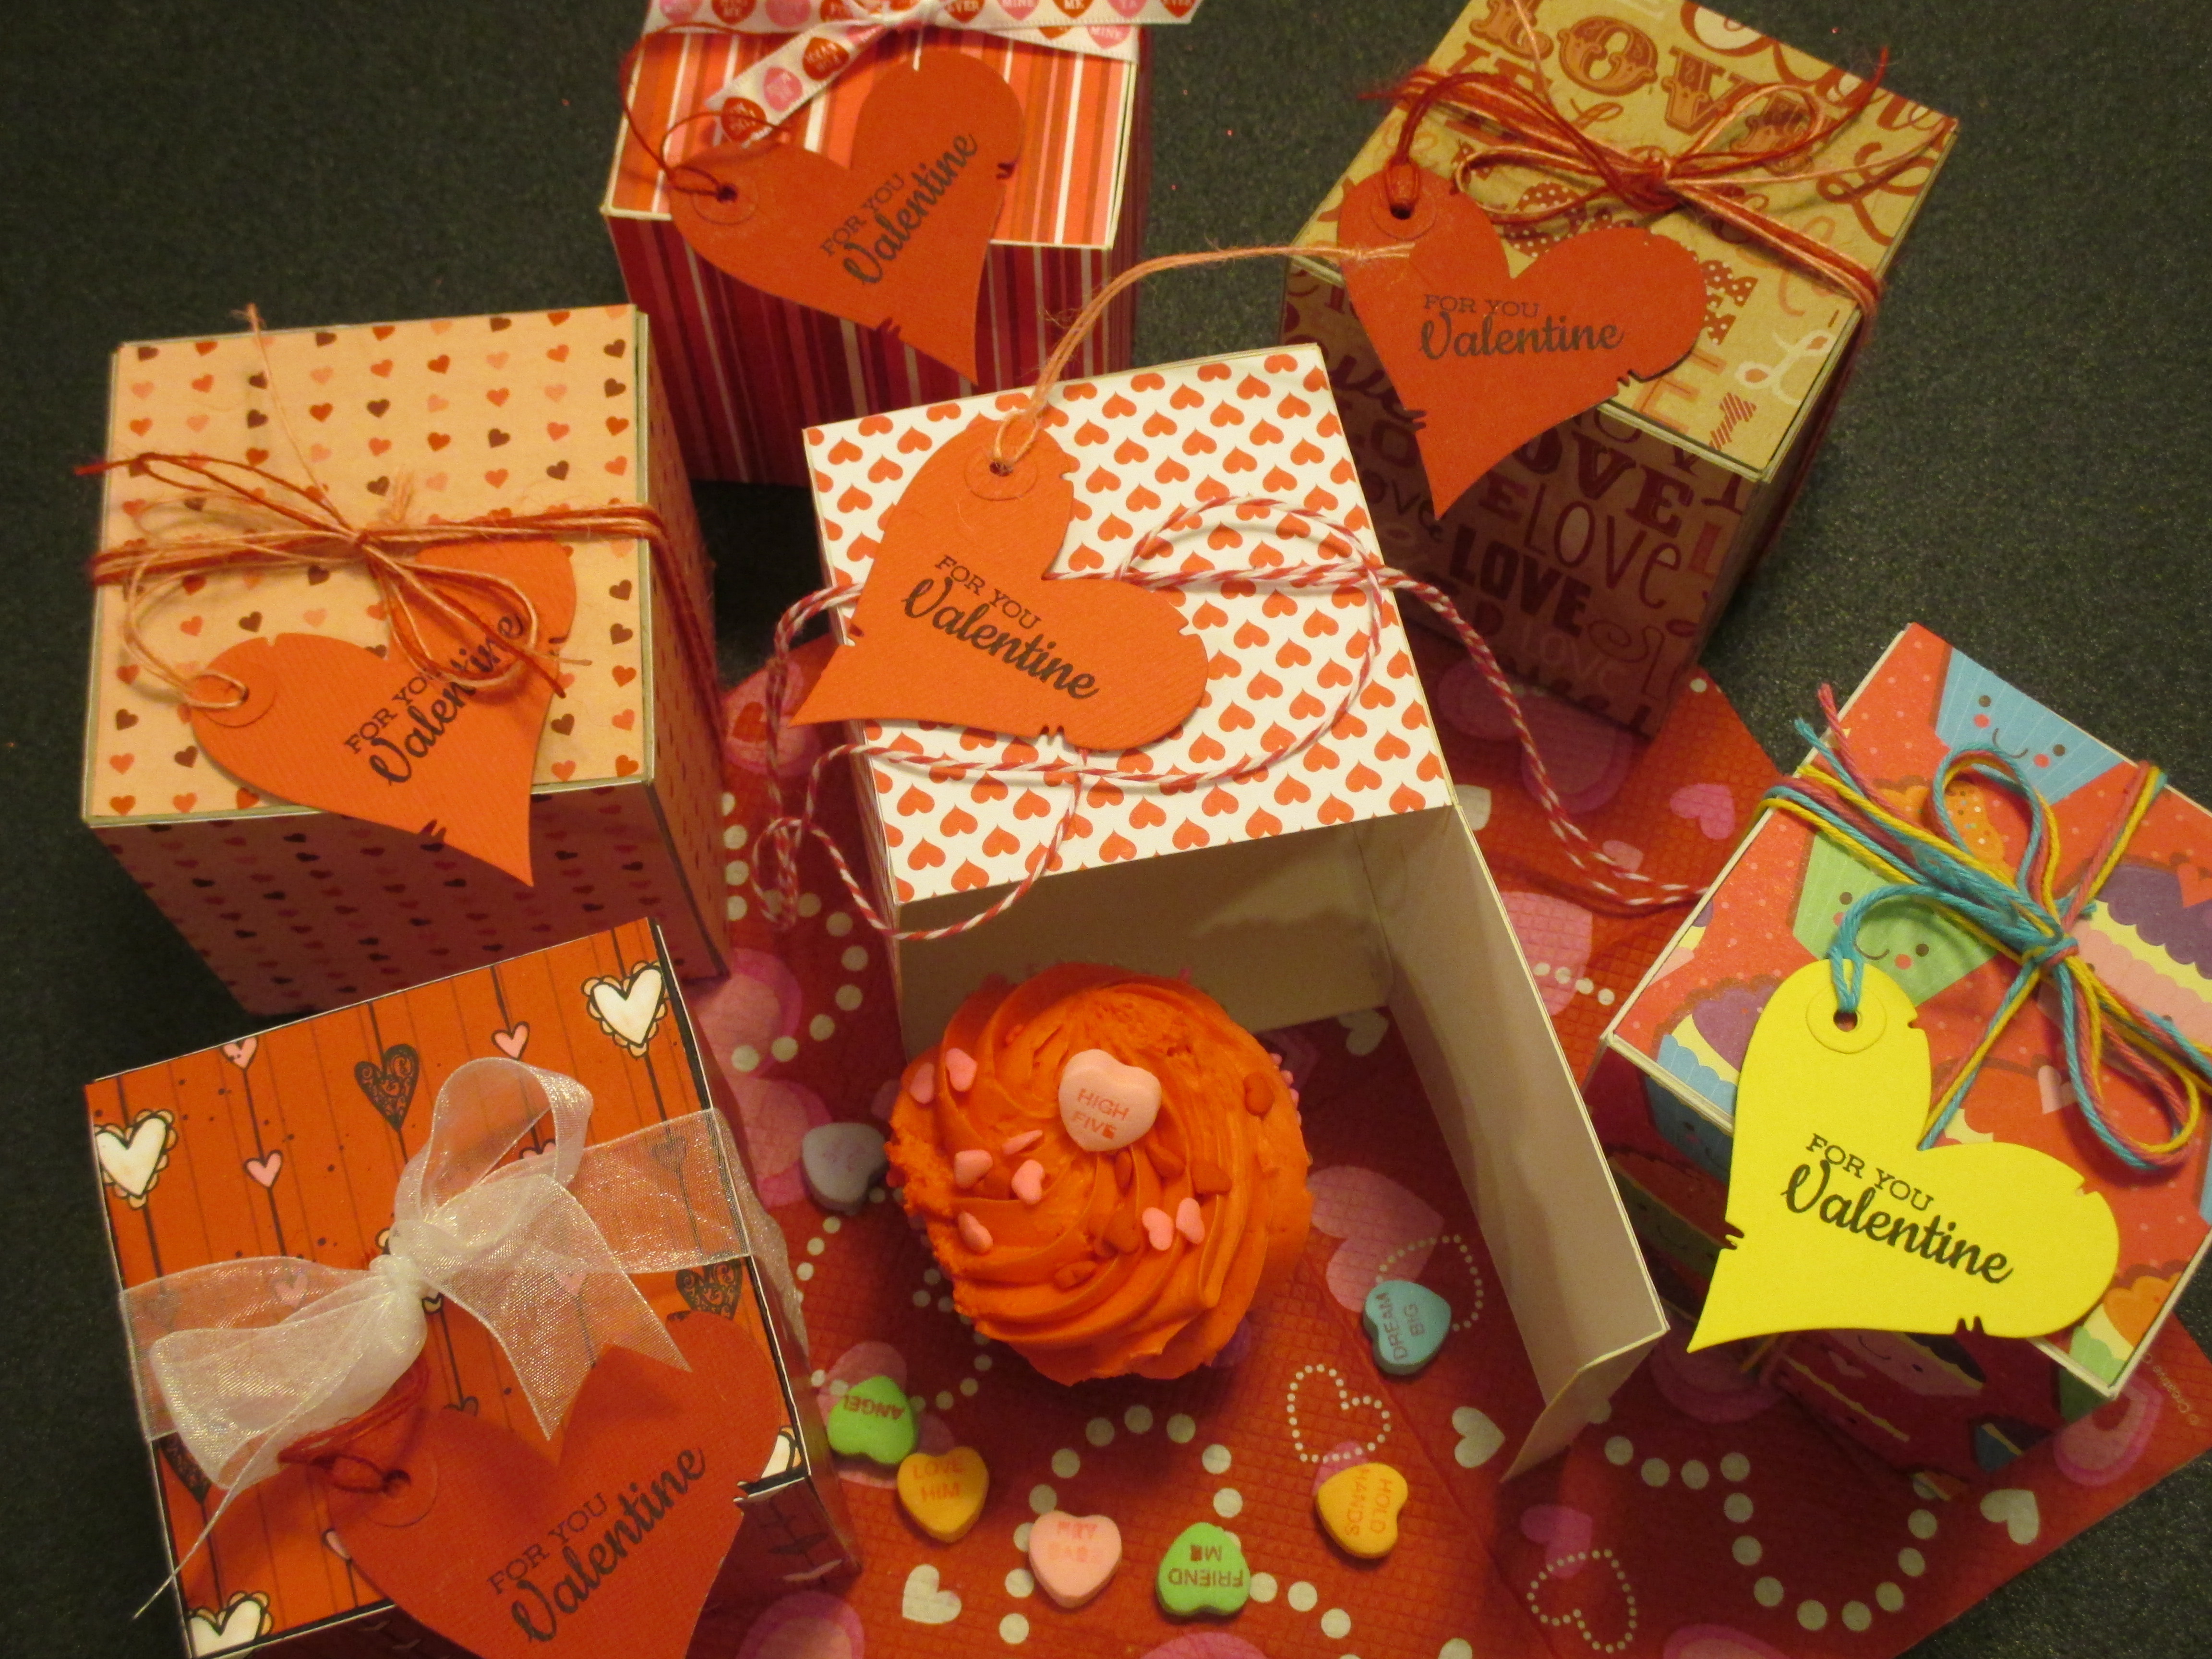
Today I want to show you a super–easy Valentine cupcake box featuring a Sizzix die designed by Eileen Hull.  The die makes a 3-1/4” square box – perfect for a single cupcake.  The box is also so versatile that you can dress it up and make a beautiful gift box (watch for this on a future post – this die is a new fave!).

group

The Sizzix die is specially designed to cut through most chipboard and mat boards, etc.  I started with a standard weight poster board, and cut two pieces (each has three panels and two tabs, one at either end). I used my Sizzix Big Kick to cut the boxes (this is one of the longer, thick dies — a ScoreBoards XL –  so will cut best on the Sizzix machines).  The die scores as it cuts, so there is no need for any additional steps there.  You are ready to fold and assemble the box straight from the die-cutting machine.  I also tried cutting boxes from black board (a little thinner than standard poster board), and from 40 pt. chipboard (about twice as thick as my poster board).  All were successful.

To assemble the box, I folded the panels and the tabs along the score lines.  I added ½” Scor-Tape by Scor-Pal to the two tabs at the ends of one of the panels, and just one of the tabs on the other panel (the other tab is the top flap of the box providing the opening).  I removed the Scor-Tape liner from the panel that had only the one piece of Scor-Tape,  and then placed that tab in the center of the other box panel.  It is important to take your time for this step, making sure to get the tab and the panel lined up properly (the Scor-Tape sticks pretty hard and won’t easily adjust if your alignment isn’t correct).  Then remove the liner from one of the two remaining tabs.  Fold the panel up along side it, carefully trying to line up the box side and the tab.  Repeat for the other side.  That’s it . . . the box is assembled.  Please see the short video for additional instructions on this process.

Now it’s time to cover the box with the patterned paper.  I cut six panels, 3-1/4” square.  Carefully adhere these to each side of the box with 1/4” Scor-Tape.  By adding the paper this way, you can control the overall appearance of the box, making sure that directional patterns, etc. are all going in the right way.  You can also isolate certain parts of your paper to feature on the box.  The alternative to doing it this way is to cover the chipboard before you cut the box.  If you do it that way, you’ll need to think through how the patterned paper needs to be placed in order to achieve a good finished appearance.  The overall appearance of the box is pretty much the same regardless of your method for attaching the patterned paper.

I didn’t line my boxes or the box flap because I felt that they were okay as they were.  You could, of course, choose to line the inside too.  It would be easier to line the box before assembly if you choose to do that.

The little heart tag is cut from a Magnolia Doohickey die.  I glued the reinforcement in place, and stamped the sentiment with black onyx Versafine ink.  I attached a hanger made from bakers twine or burlap twine.

Following are individual pictures of the boxes and information on the box material, patterned paper and ribbon, etc.

box 1

Black board; “Head over Heels” by Bo Bunny; Offray 5/8” white sheer ribbon

box 2

40 pt. chipboard;  “Heart Healthy Red Bean Soup” by Jillibean Soup; pink and red May Arts burlap string

box 3

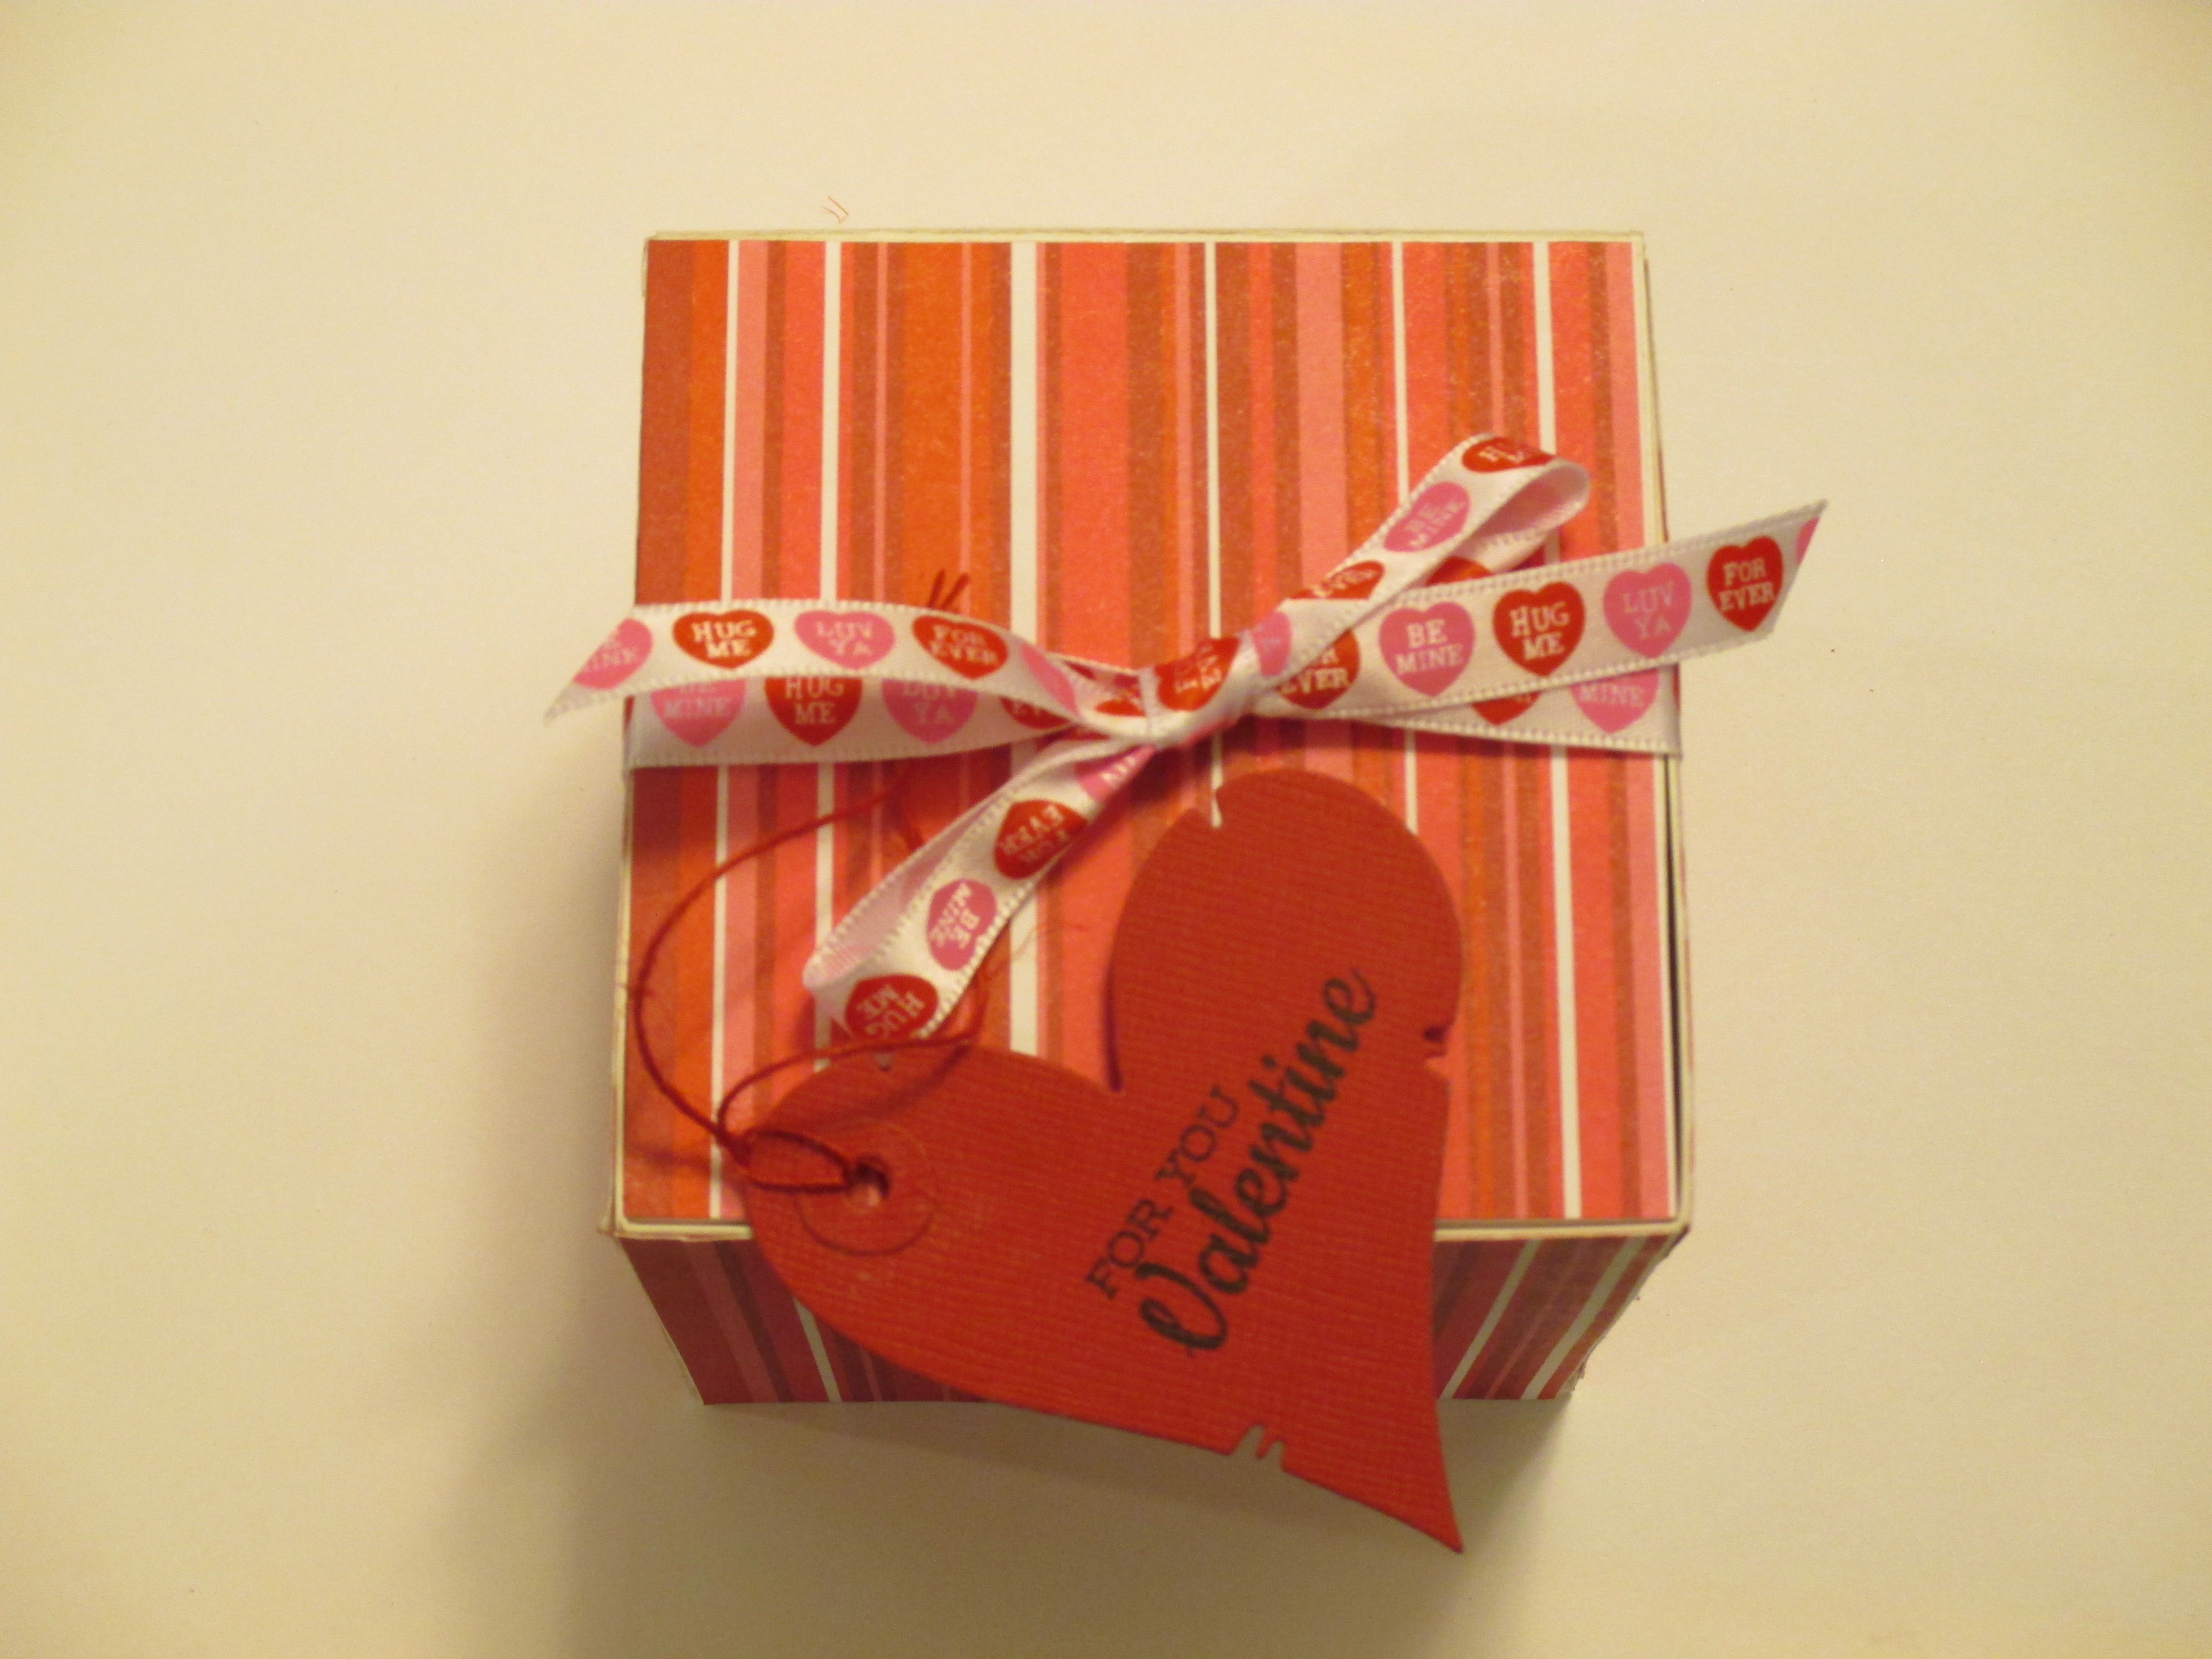
White poster board; “Love Potion Stripe” by Reminisce; Candy Hearts ribbon by Celebrate It

box 4

40 pt. chipboard;  paper from “Love Notes” 12×12 paper pad by Martha Stewart; pink and red May Arts burlap string

box 5

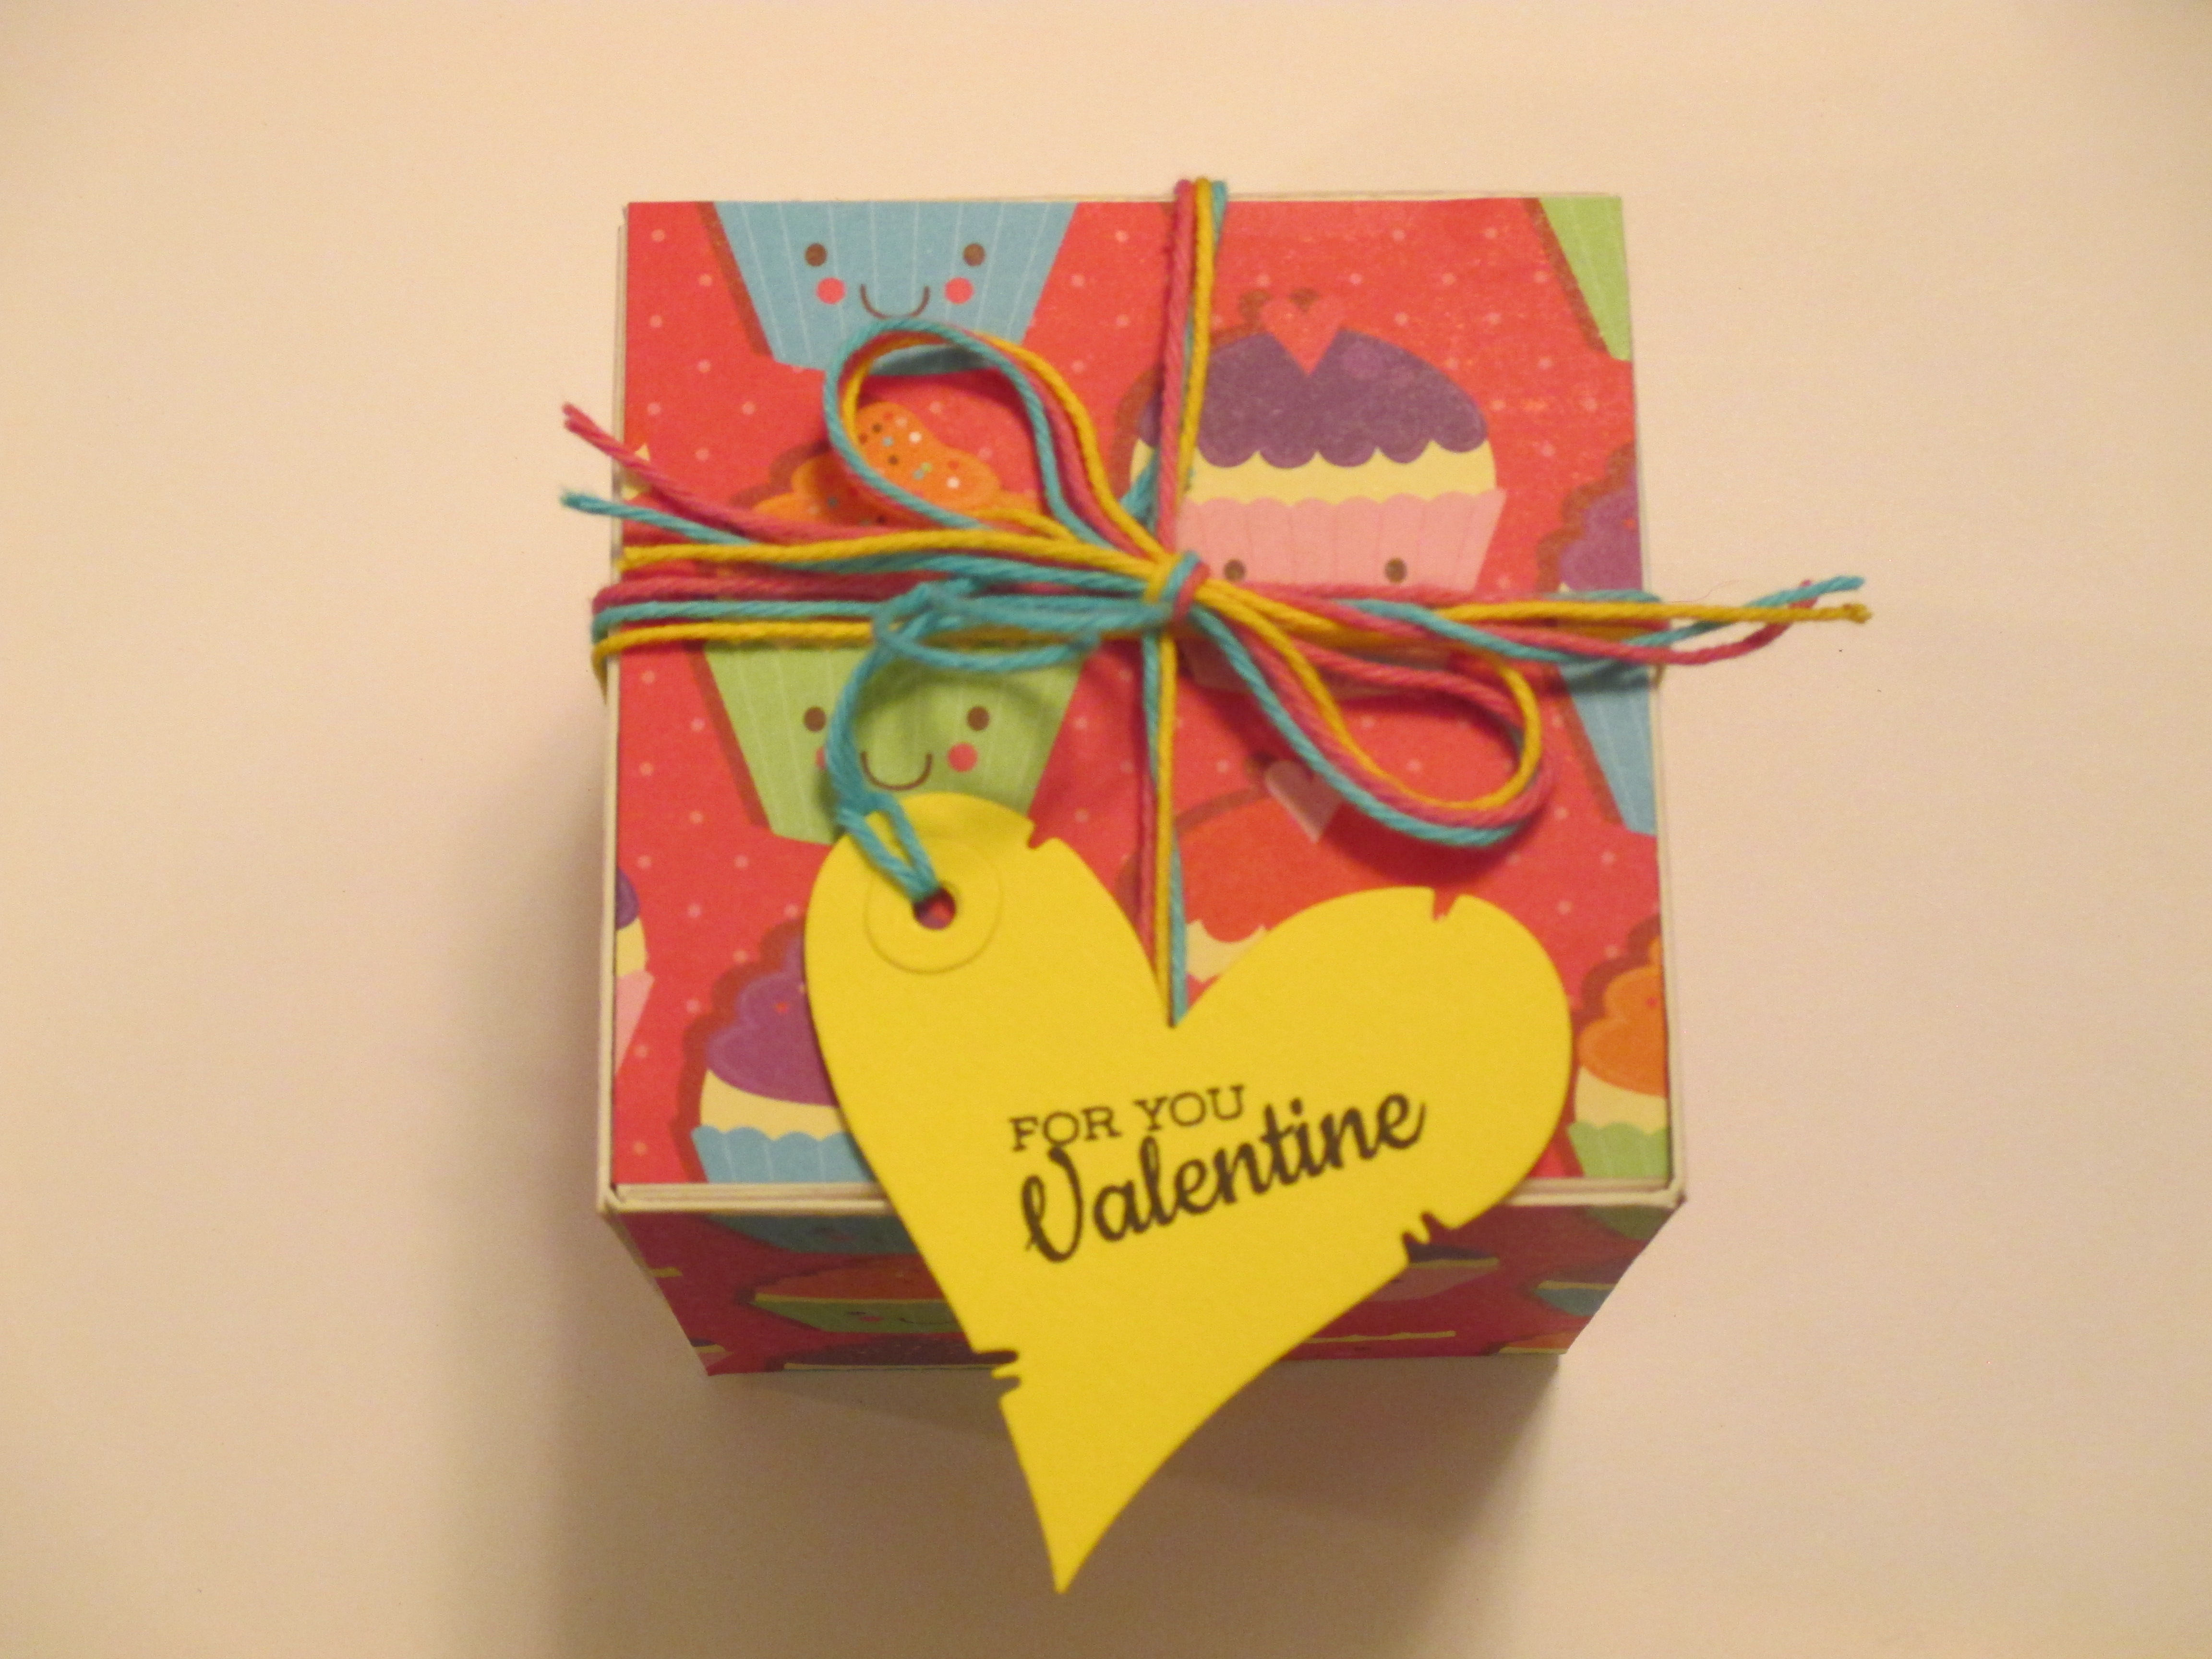
White poster board; paper from the dollar bin at Target; yellow, blue and pink solid Divine Twine

box 6

White poster board; “Tiny Red Hearts” by The Paper Studio; pink sorbet bakers twine by The Twinery

Supply List:

Sizzix/Eileen Hull die – box, square (658058)

Die cutting machine — I used my Sizzix Big Kick

Chipboard, poster board, mat board, etc. (I used 40 pt. chipboard, white poster board and black board)

Scor-Tape by Scor-Pal – I used ½” and ¼”

Assorted patterned papers – the papers I used are described above

Heart tag die – I used Heart Tag by Magnolia Doohickey

Ink – I used onyx black Versafine

Valentine sentiment – I used the “Lots of Love” stamp set by Avery Elle

Assorted ribbon, baker’s twine, burlap twine, etc. – what I used is described above

You can purchase the featured supplies from Cut at Home or from your local paper crafting store.  My fave is Bayers Pampered Stampers in Toledo, Ohio.  Links to Cut at Home and Bayers are in the Blogroll above.

Thanks and Happy Scrappin’!

Cheryl

Glittered “Heart Pops” Card

Today my card is a Valentine featuring the “Heart Pops” die by Die-Versions.  This is a new die, and when I saw it I knew it was a must have.  It is just so much fun, and depending on how you use it makes a great Valentine for all ages.   It can also be used for a variety of projects other than those for Valentines Day.

love in air

I used a glittering technique for this card that features Scor-Tape by Scor-Pal.  It is a simple technique, although it may take a little practice on something as intricate as this die.

I started out with a 6”x6” sheet of Scor-Tape.  These sheets have liners on both sides, making it possible to die cut the Scor-Tape.  I cut the heart balloons from the Scor-Tape.  The Die-Versions dies cut very nicely, and I didn’t have any problems with “no cut” areas, etc.  Just do whatever you normally do with your die cutting machine for intricate dies (run it through a second time, add a shim, etc.) and it will be fine. When it comes to removing the shape from the die, just be careful and remember that you have a layer of tape and two layers of liner, so you don’t want to rip, etc.  Work gently to free the image from the die.

Next I prepared the layers for my card.  I cut a 4.25” x 5.5” piece of red cardstock as the background layer.  Then I cut a patterned cardstock to 3-7/8” x 5-1/8” (my pink hearts are from a 6×6 paper pad by Pebbles called “Yours Truly”).  I embossed the background layer using “Ornate Swirls” by Sizzix.

This next step is the one that can be a little tricky — placing the Scor-Tape balloons on the patterned paper.  This is not difficult, but does take a little patience.   First I carefully removed the brown liner from the balloons.  I find it easiest to take one balloon at a time – remove the liner to the string and carefully trim off the liner (leaving the liner on the strings and other balloons intact).  Then I placed that balloon on the cardstock before moving on to the next one.  The tricky part is that sometimes the Scor-Tape comes up with the brown liner, and then it is very easy for it to get out of its intended shape, etc.  I used my tools, etc. – tweezers, picks (like you use to get the small pieces out of dies), etc. – adding fingers to the mix just makes things worse.  Again, it’s important to just work slowly and calmly through this, one balloon at a time.  Once the liner was removed from all three balloons and all were in place on the cardstock, I removed the liner from the strings and set those into place.  The strings also consist of some fairly thin pieces of Scor-Tape that may not exactly go where you want them to go – just have patience and use your tools (picks, tweezers, etc.) to guide them into place.  Once the liner was fully removed, I pressed all of the pieces into the cardstock so that there was a strong bond (if it hasn’t fully adhered, glitter will get underneath, and the image may try to lift up off of the paper).

The hard part is over now – the rest is pure fun!  I placed my card layer on a thin piece of paper (copier-weight paper, for example).   I opened the jar of glitter and set it to the side of the paper.  Then I removed the top Scor-Tape liner from the image.  This should be fairly easy, although you’ll want to be a little careful here to make sure that you don’t pull up the Scor-Tape also.  Once the Scor-Tape was exposed, I added glitter to cover the tape image.  I used a microfine glitter for my project, and that can get everywhere – so I always try to only shake out a little more than is needed, keeping most of it in the bottle.  When the image was covered, I used my finger to lightly press the glitter onto the tape.   Then I tapped off the excess glitter onto the lightweight paper, and used a soft bristled brush to continue removing the excess glitter from the card front.  (You can easily fold the lightweight paper and guide the unused glitter back into the jar.)

The next step is to burnish the image.  I simply rubbed my finger over the glittered area.  This loosens any excess glitter that remains, and also revitalizes the glitter that adheres to the Scor-Tape to bring back the “sparkle”.  This is a very important step, but clearly the easiest.  Once the entire image was burnished, I used my brush again to remove any excess glitter from the project.  Please see this short video for a demonstration of the glittering technique.

To finish the card,  I used ¼” Scor-Tape by Scor-Pal to attach the glittered layer to the back layer.  I also used the Scor-Tape to attach the ribbon and bow.  I cut a red heart (same paper as the background) using one of the “Rustic HeartsDie-namics dies by My Favorite Things.  I stamped the sentiment on the heart.  I used my Quickie glue pen to draw a small heart next to the sentiment, and covered the glue with Warm  Highlight glitter by Glitter Ritz.  It takes just a short time for the glue to dry (about 5 minutes), and when it’s dry you can brush off the excess glitter and burnish the little heart.  I attached the sentiment using a low dimensional adhesive.  That’s it – the card front is finished!

love in air

Tip – When you’ve die cut as much as possible from your 6″ x 6″ Scor-Tape sheet, don’t throw it away or recycle it as you would with paper.  It’s Scor-Tape, and is still a fabulous adhesive!  You just need to cut those remaining pieces as needed, and use them on other projects.  The pieces aren’t always very uniform, etc. but that won’t matter.  The only difference is that you need to remove the liner from both sides, etc.  No waste . . . how cool is that!

Supply List:

Scor-Tape by Scor-Pal – 6”x6” squares

Die-Versions Die – “Heart Pops

My Favorite ThingsRustic HeartsDie-Namics die –  (for the sentiment)

Microfine glitter – I used Glitter Ritz cranberry  and warm highlight

Glue pen – I used a quickie glue pen

Soft paintbrush – to brush away excess glitter

Picks (to remove small pieces from a die) and tweezers

Cardstock – lightly patterned and coordinating backing layer

Embossing folder – I used “Ornate Swirls” by Sizzix

Several sheets of thin paper (copier paper) to catch excess glitter

Die cutting machine – I used my Grand Calibur by Spellbinders

Sentiment stamp – I used “Love is in the Air” by Impression Obsession

Black Versafine ink

Adhesive – I used ¼” Scor-Tape by Scor-Pal and a low dimensional adhesive

Ribbon

For those that are interested in the supplies on the video – I used one of the dies from the Marianne Creatables Die Hearts set.  They are just too cute, and the perfect size for many projects!  The glitter that I used was Peony Pink microfine glitter by Elizabeth Crafts.  I’ve included pictures of the glittered heart from the video, and the Marianne dies below.

glittered heart  marianne heart die

The featured supplies are available from Cut at Home, and all supplies are available from your local paper crafting store.  My fave is Bayers Pampered Stampers in Toledo.

Thanks and Happy Scrappin’!

Cheryl